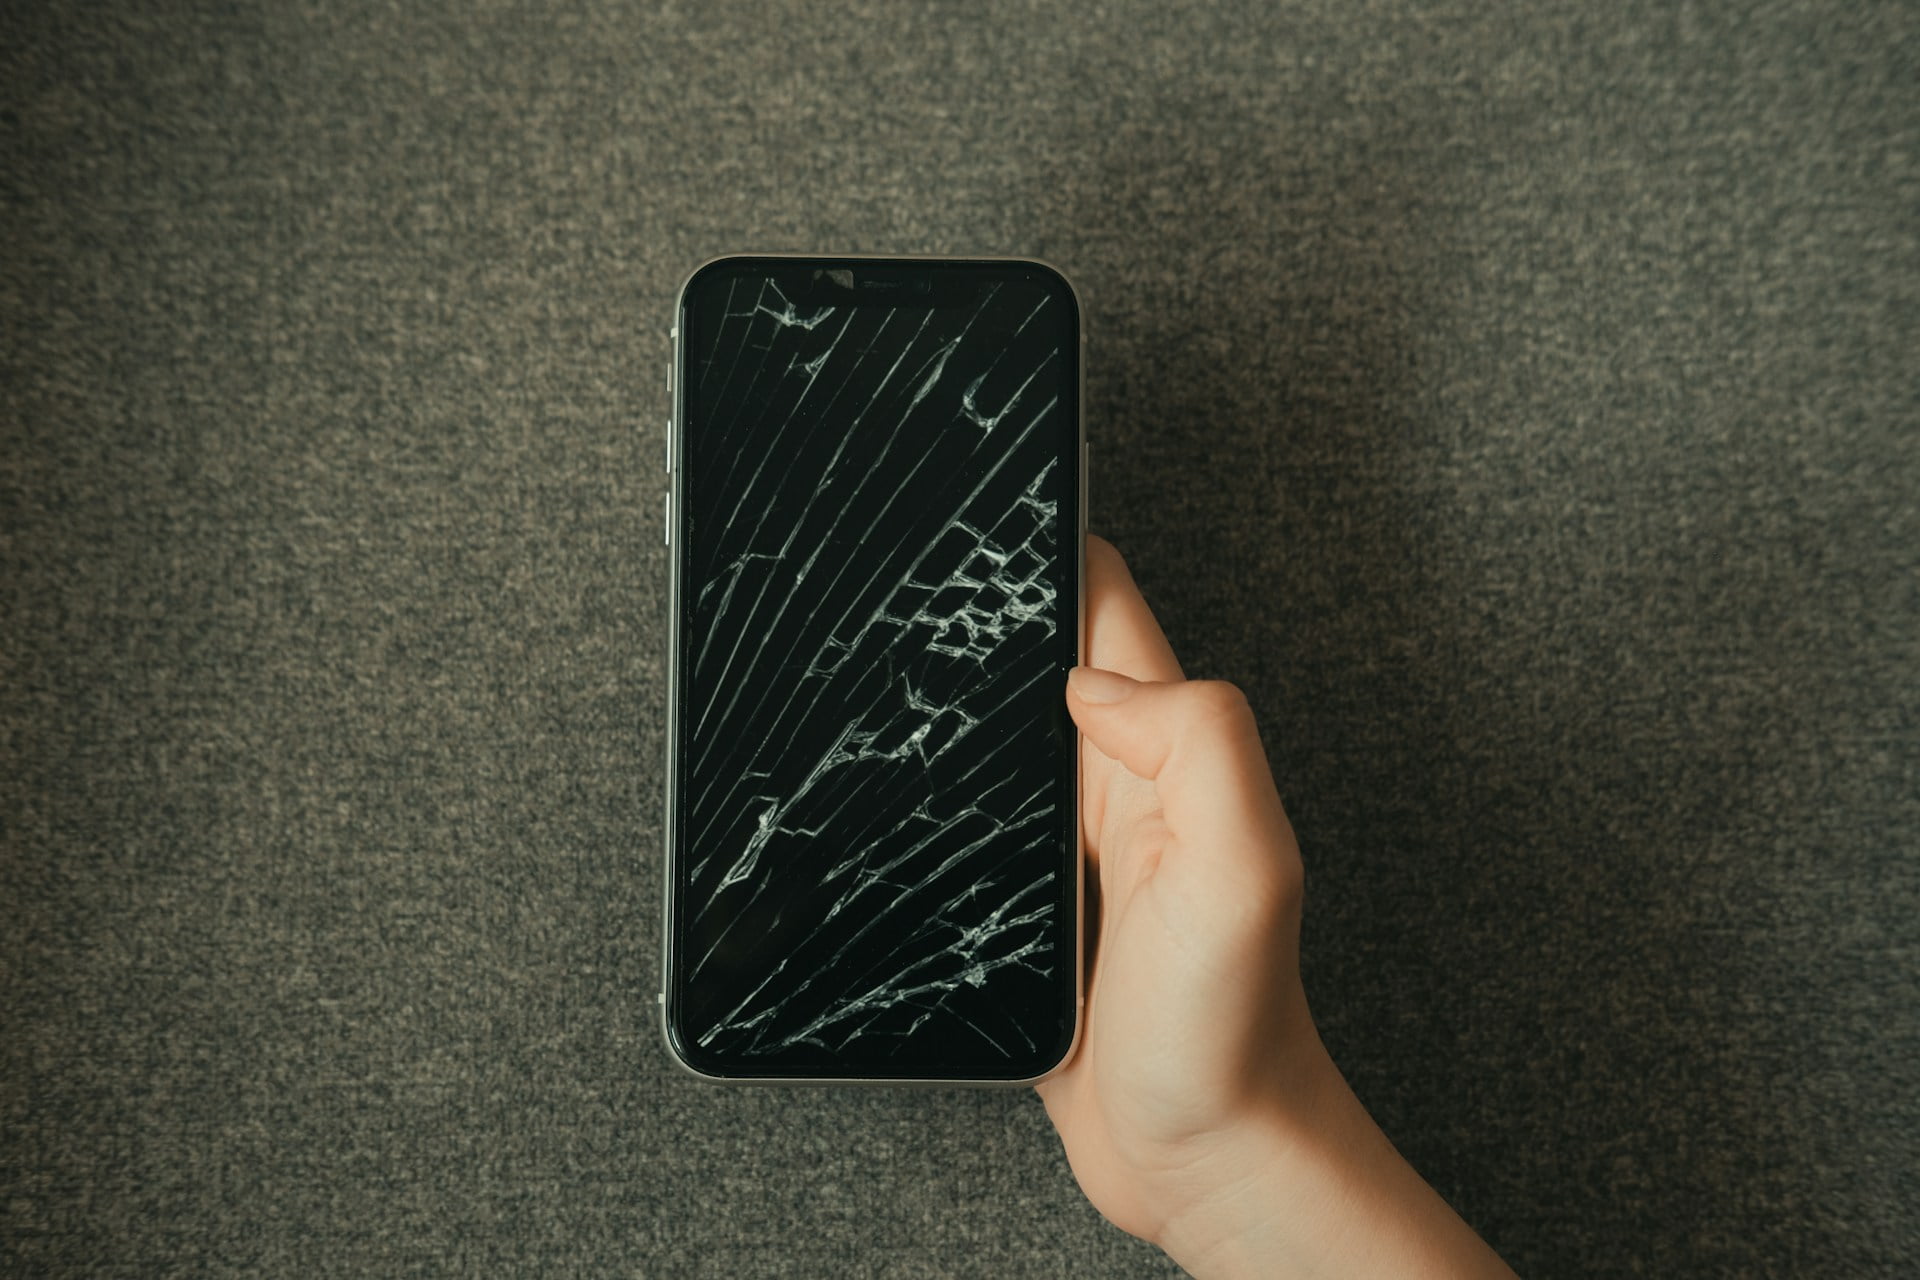
A broken mobile phone screen can be a source of stress and frustration. Whether it’s a small crack or a completely shattered display, it can make using your device difficult or even impossible. Fortunately, replacing a broken screen is a task that you can often handle on your own with the right tools and guidance.
Understanding the steps involved in screen replacement is crucial to ensure that you do not cause further damage to your device. From gathering the necessary tools and materials to testing and reassembling your phone, each step requires careful attention and patience. Successfully replacing a mobile phone screen not only restores its functionality but can also save you money on professional repairs.
In this article, we will guide you through the process of replacing a broken mobile phone screen. By following these steps, you can ensure that your phone is back to its original condition. Let’s dive into the detailed instructions on how to safely and effectively replace your mobile phone screen.
Gather the Necessary Tools and Materials
Replacing a mobile phone screen requires specific tools and materials. Having everything ready before you start will make the process smoother and more efficient. Here’s a list of what you’ll need:
- New Screen: Ensure that the replacement screen is compatible with your phone model. Purchasing a high-quality screen will guarantee better performance and durability.
- Small Phillips and Flathead Screwdrivers: These are essential for removing the tiny screws that secure your phone’s components.
- Plastic Pry Tools: These tools help to gently pry open the phone’s casing without causing damage.
- Tweezers: Handy for handling small screws and delicate components during the replacement process.
- Suction Cup: This is used to lift the screen gently off the device without cracking it further.
- Adhesive Strips or Tape: These are necessary to secure the new screen in place. Make sure you use an adhesive that is strong enough to hold the screen but allows for flexibility.
By gathering these tools and materials beforehand, you can ensure that your screen replacement goes smoothly and efficiently.
Power Down and Remove the Damaged Screen
Before you begin the screen replacement process, make sure your phone is powered down. This prevents any accidental short circuits and protects the internal components. Here are the steps to safely remove the damaged screen:
- Power Down the Phone: Hold the power button and select the option to shut down your phone completely.
- Remove the Back Cover: Use the plastic pry tool to carefully remove the back cover of your phone. Be gentle to avoid breaking any clips.
- Disconnect the Battery: Locate the battery connector and use the plastic pry tool to disconnect it. This ensures there’s no power running through the phone while you work.
- Unscrew and Remove the Screws: Using the small screwdrivers, remove all the screws securing the screen and other components. Keep these screws safe, as you’ll need them for reassembly.
- Pry Open the Screen: Attach the suction cup to the front of the screen and pull gently to create a gap. Use the plastic pry tools to carefully lift the screen away from the body of the phone.
- Disconnect the Screen Cables: Once the screen is loose, locate the ribbon cables connecting the screen to the motherboard. Use the tweezers to gently disconnect these cables.
By following these steps, you ensure that the old, damaged screen is safely removed and the phone is ready for the new screen installation.
Install the New Screen
With the damaged screen removed, you’re now ready to install the new screen. This stage requires precision and care to ensure the screen fits perfectly and functions as expected. Follow these steps:
- Connect the New Screen Cables: Gently align the ribbon cables from the new screen with the ports on the motherboard. Use the tweezers to carefully connect each cable, making sure they snap in place without bending.
- Secure the New Screen: Once the cables are connected, position the new screen into the phone frame. Press gently around the edges to ensure it fits securely. If the screen comes with adhesive strips, remove the backing and press firmly to attach the screen to the frame.
- Replace Screws: Using the small screwdrivers, reinsert all the screws you initially removed. Tighten them securely but avoid over-tightening, as this can crack the new screen or strip the screw threads.
- Reconnect the Battery: Attach the battery connector back to the motherboard. Ensure it’s snugly connected to provide proper power to your phone.
- Close the Back Cover: Snap the back cover of the phone into place. Make sure all clips are securely fastened to avoid any gaps that might allow dust to enter.
By following these steps, you can successfully install the new screen and prepare your phone for testing.
Test and Reassemble Your Mobile Phone
After installing the new screen, it’s crucial to test your phone to ensure everything works correctly before fully reassembling it. Here’s how to do it:
- Power On the Phone: Press the power button to turn on your phone. Watch for the brand logo to appear on the screen, indicating the new screen is receiving power.
- Check Screen Functionality: Test the touch screen by swiping and tapping to see if it responds accurately. Open a few apps and check for any display issues like dead pixels or colour imbalances.
- Test Other Components: Ensure all other features of your phone are working. Check the camera, speakers, and buttons to confirm they function properly with the new screen.
- Final Assembly: If everything works correctly, power down the phone again. Reattach any internal components you might have removed earlier and secure them with screws if necessary.
- Snap the Back Cover in Place: Once you’ve confirmed that all components are functioning, close the back cover securely and ensure it fits perfectly without gaps.
By thoroughly testing and carefully reassembling your phone, you ensure that the repair is successful and your mobile phone is ready for use.
Conclusion
Replacing a broken mobile phone screen might seem daunting, but with the right tools and careful steps, it is a manageable task. Addressing the issue yourself can save you time and money while restoring your phone to its optimal condition. From gathering the necessary tools to installing and testing the new screen, each step is crucial for a successful repair.
If you find the process challenging or encounter any issues, seeking professional assistance is always an option. Properly handling your phone and following the steps methodically can make a significant difference in the outcome of the repair.
Forest City Computer Repairs is here to help with any mobile phone, laptop, or desktop computer repair needs. Whether you attempt a DIY repair or require expert services, we’re ready to assist. Contact Forest City Computer Repairs for reliable and efficient solutions to keep your devices running smoothly.